Ice-Free Freezer Walls: Why Frost Keeps Winning (and How to Stop It)
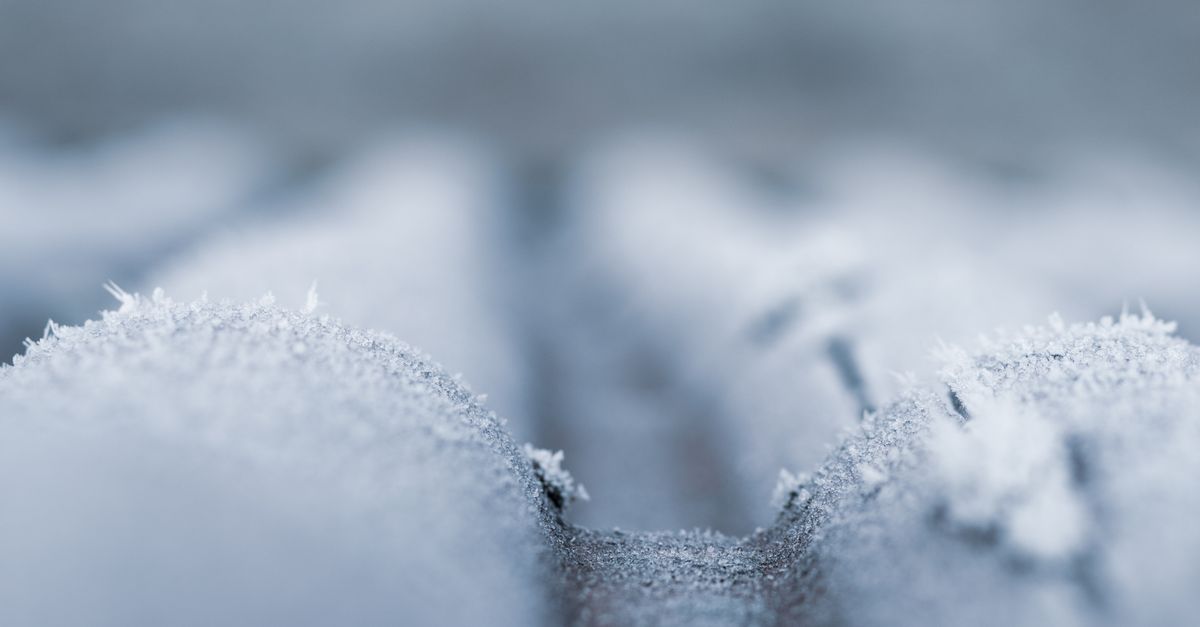
Frost builds on freezer walls because moisture-laden air gets in, hits a cold surface, and freezes. Every time you open the door, leave a gap in the seal, or store uncovered food, you add more water vapor to the equation. The ice itself is harmless at first, but once it thickens beyond a centimeter or so it reduces efficiency, strains the compressor, and eventually starts crowding out the food.
Stopping it is mostly a matter of controlling moisture at the source. The fixes are inexpensive and mostly one-time adjustments.
Why Frost Forms in the First Place
Freezer air is kept well below 0 °C (32 °F). When warmer, humid air enters the compartment, the water vapor in it condenses and then freezes almost instantly on the coldest surfaces: the walls and the evaporator coils at the back. The process compounds itself: a thin layer of frost acts as mild insulation, making the coils work harder to maintain temperature, which draws more power and sometimes creates uneven cold spots that attract yet more condensation.
Manual-defrost chest and upright freezers accumulate frost faster than frost-free models because they have no automatic defrost cycle. Frost-free units run a small heater on the evaporator coils periodically to melt any buildup, then drain it away. If you own a frost-free model and still see heavy ice formation, that usually points to a failed defrost heater, a faulty thermostat on the defrost cycle, or a door seal problem.
Sealing gaps that let warm, moist air sneak in matters elsewhere in the house too, as explained in Stop Window Drafts Before Winter Costs You More.
The Four Main Causes Worth Fixing
Damaged or dirty door seals are the single biggest culprit. A gasket with even a small tear or a section crusty with old food debris lets a continuous trickle of warm air in every hour of every day. Run your hand slowly around the closed door: any spot where you feel cold air escaping needs attention. The paper-slip test is a quick check — close the door on a thin sheet of paper; if it slides out without resistance, that part of the seal is compromised.
Frequent or long door openings bring in a surge of humid air each time. The fix is habitual: know what you want before you open, and close the door promptly. In a busy kitchen this sounds minor, but a freezer opened many times a day accumulates noticeably more frost than one opened a few times.
Warm or uncovered food placed directly in the freezer releases significant moisture as it cools and as surface ice evaporates slightly over time. Let cooked food cool to roughly room temperature before freezing it, and always wrap or seal it properly. Bare meat or a partially wrapped container will off-gas moisture continuously.
A freezer that isn’t level can prevent the door from sealing under its own weight. Most freestanding units have adjustable feet. If the freezer tilts slightly forward (a few millimeters), gravity helps the door press against the frame. Check with a spirit level and adjust until the seal closes evenly all the way around.
How to Coat Freezer Walls to Reduce Sticking
Even with good habits and a perfect seal, a thin layer of frost can still form in a manual-defrost unit. The key to managing it is making that frost easy to remove, rather than letting it bond solidly to the walls.
After a full defrost and thorough drying of the interior, apply a very thin, even coat of one of the following:
- Vegetable glycerin: food-safe, odorless, and widely used for this purpose. Wipe a small amount onto dry walls with a clean cloth, then buff off any excess. The thin film prevents direct ice adhesion to the metal or plastic.
- Food-grade mineral oil: applied the same way. Less sticky than glycerin and easy to find at pharmacies. Avoid using cooking oils (like olive or canola) because they can go rancid over time and transfer odors.
- Commercially made non-stick freezer spray: products sold for this purpose generally contain food-safe silicone or a similar release agent. Follow the label instructions for drying time before restocking.
The coating does not stop frost from forming, but it dramatically reduces the force needed to scrape it off. Instead of chipping away at layers bonded tightly to the wall, you can remove them with a plastic scraper or a soft spatula in large, clean sheets.
Reapply after each defrost cycle.
Keeping Humidity Low Inside the Freezer
A few practical steps reduce the total moisture load inside the compartment:
- Double-wrap or vacuum-seal items, especially high-moisture foods like raw meat and fish. Zip-lock freezer bags work best when you press out as much air as possible before sealing.
- Use rigid containers with tight lids for soups, sauces, and anything liquid. A container filled to the top (leaving the recommended headspace for expansion) has less air gap than a half-empty one.
- Label items and organize by type so you can find things quickly and keep the door open for shorter periods.
- Avoid overfilling or underfilling. A reasonably full freezer (without blocking the vents or the evaporator coil area) maintains temperature more steadily. An almost-empty freezer has a large volume of air that cycles in and out, each cycle adding moisture.
For a chest freezer specifically, the simple act of covering the opening with a sheet of cardboard or a folded towel when you rummage through it for more than a few seconds makes a measurable difference in how quickly frost returns.
When the Frost Problem Is the Appliance, Not the Habits
If you have addressed the seal, the leveling, and your food-handling habits, and frost still builds up much faster than it should (say, a visible thick layer in under two weeks on a frost-free model), the problem is mechanical.
The most common internal failures are:
- Defrost heater failure: the heater that normally melts the evaporator coils has burned out or lost continuity.
- Defrost thermostat or timer fault: the control that tells the heater when to run is stuck or broken.
- Evaporator fan motor failure: without good air circulation, cold spots intensify and frost accumulates unevenly.
- Refrigerant leak: less common, but a partially depleted refrigerant charge makes the evaporator run colder than intended, accelerating ice formation.
A multimeter and the appliance’s wiring diagram can help you test the heater and thermostat for continuity, which is a reasonable DIY check. Anything involving refrigerant requires a certified technician because handling refrigerant without a license is prohibited in most countries.
If you’re troubleshooting whether a machine’s slowdown is fixable or a sign to replace it, the same mindset applies to How to Fix a Slow Laptop: 12 Proven Speed Fixes.
Defrost Frequency and Method
For manual-defrost units, defrost before the frost layer gets thick. A buildup much past roughly 5–6 mm starts to meaningfully reduce efficiency, though the exact point depends on your unit’s design. Defrost at least once or twice a year as a minimum; in humid climates or households with frequent door openings, quarterly may be more appropriate.
The safest method: unplug the unit, remove all food to a cooler, leave the door open, and let the ice melt naturally. Place towels at the base to catch the water. Do not use a knife, a metal scraper, or a heat gun pointed directly at the walls — these risk puncturing the liner or damaging the evaporator coil, which is an expensive repair. A plastic pan scraper, a wooden spatula, or even a cool (not hot) hair dryer held well back from the surface are all fine.
Dry the interior completely before plugging back in and restocking. Any residual moisture becomes the seed crystal for the next frost cycle.
Frequently Asked Questions
Does leaving space around food packages help reduce frost?
Somewhat. Good airflow around packages helps the unit maintain an even temperature, which reduces the cold spots where frost tends to concentrate. Packing food so tightly that it blocks the vents or the evaporator fan area is a bigger problem than leaving gaps, but the sealing and moisture content of the packages matters more than spacing.
Can I use WD-40 on freezer walls to stop ice sticking?
Avoid it. WD-40 is a petroleum-based product not rated for food-contact surfaces, and at freezer temperatures it becomes viscous and can transfer to food. Food-grade mineral oil or vegetable glycerin are safer alternatives that work on the same principle.
My frost-free freezer still gets ice — is it broken?
Not necessarily, at first. A small amount of frost near the door or on the top shelf of a frost-free unit can be normal, especially in humid weather. Consistent, heavy frost throughout the compartment, or frost that rebuilds within days of a defrost cycle, does suggest a failing defrost component. Check the door gasket first, then consider testing the defrost heater and thermostat.
How long after defrosting should I wait before restocking?
Wait until the interior walls feel dry to the touch and the temperature has returned to your normal freezer setpoint (check with an appliance thermometer if possible). The exact time varies with ambient temperature and how thoroughly you dried the walls, but it often ranges from one to two hours. Restocking while the walls are still damp seeds the next frost cycle immediately.
Does the freezer temperature setting affect frost buildup?
Yes, indirectly. Setting the freezer colder than necessary makes the evaporator coils run at a lower temperature, which attracts more condensation from any air that enters. Most household freezers perform well and meet food-safety needs at around -18 °C (0 °F). Going significantly colder without a reason increases both frost risk and energy use without meaningfully improving food preservation for typical storage periods.