7 Best Coffee Brewing Methods at Home, Ranked
Disclosure: This post may contain affiliate links. We may earn a commission at no extra cost to you. See our Affiliate Disclosure.
7 Best Coffee Brewing Methods at Home, Ranked
Most people who drink coffee every day have never stopped to ask whether their brewing method is actually the right one for them. The choice of how you brew shapes everything — the body of the cup, the acidity, how long it takes, how much cleanup you’re willing to do. If you’ve been running the same drip machine for a decade, or if you just bought a bag of single-origin Ethiopian and have no idea how to treat it right, this breakdown is for you.
We’ll go through seven methods worth knowing — what each one does well, where it falls short, and who it suits best.
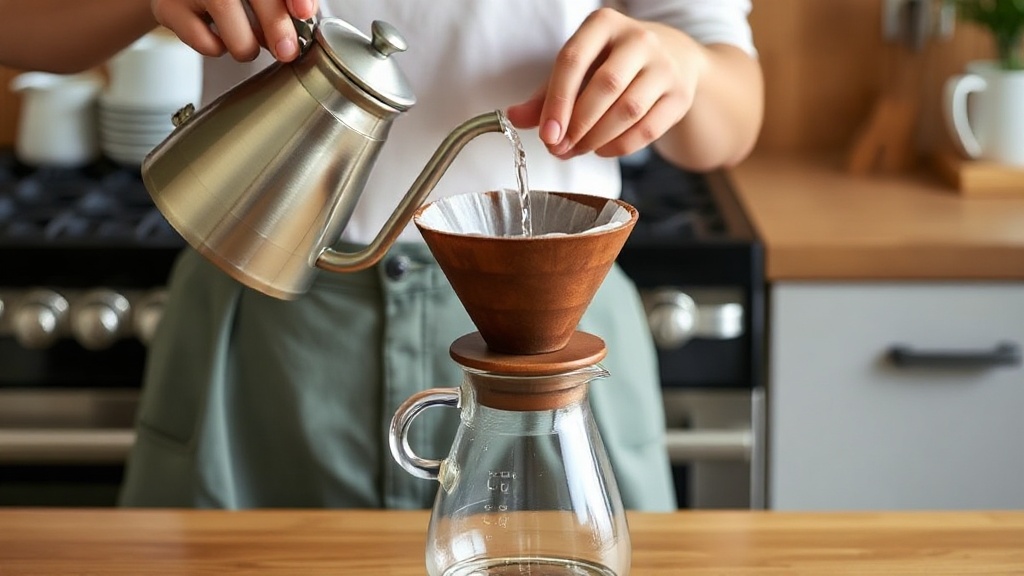
1. Pour-Over (V60, Chemex, Kalita Wave)
Pour-over is the method that turned home brewing into a craft. You pour hot water manually over grounds in a filter, controlling the rate, temperature, and saturation yourself. That control is its greatest strength.
What it produces: A clean, bright, nuanced cup. Floral and fruit notes come through clearly because the paper filter holds back most oils and fine particles.
Gear you need: A dripper (Hario V60 costs around $10–$20), paper filters, a gooseneck kettle (not strictly essential but genuinely helpful), and a scale.
Best for: Anyone who wants to taste what a coffee actually is — especially lighter roasts and washed-process beans. It rewards patience and attention.
Watch out for: Inconsistency. If your pour is sloppy or your grind is off, the cup tells you immediately. The learning curve is real but short — a week of practice usually sorts it.
2. French Press
The French press is a full-immersion brewer — grounds sit in water for four minutes, then you push a mesh plunger down to separate them. No paper filter, so the oils and fine sediment stay in the cup.
What it produces: A heavier, richer, more textured cup. Some people find the sediment at the bottom off-putting; others consider it part of the experience.
Gear you need: A French press ($15–$60 depending on size and brand), a coarse grinder, and a timer. That’s it.
Best for: People who like body — the kind of cup that feels substantial, especially with medium or dark roasts. It’s also forgiving and genuinely beginner-friendly.
Watch out for: Over-extraction if you leave the grounds steeping too long. Once you’ve plunged, pour the coffee out immediately — don’t leave it sitting in the press.
3. AeroPress
The AeroPress is a plastic cylinder that uses air pressure and a short steep to push coffee through a small filter into your cup. It looks odd and brews fast — usually under two minutes — and has a cult following for good reason.
What it produces: Concentrated, smooth, low-acidity coffee. You can brew it espresso-style (small, strong) or dilute it for a longer cup. The range of possible recipes is wider than almost any other method.
Gear you need: An AeroPress kit (around $35–$40), which includes everything except a grinder and kettle. Paper or metal filters both work.
Best for: Travelers, experimenters, and anyone who wants a great cup fast. The AeroPress is also incredibly easy to clean — you just push the puck out.
Watch out for: It only brews one to two cups at a time, so it’s not ideal for households that need a pot’s worth every morning.
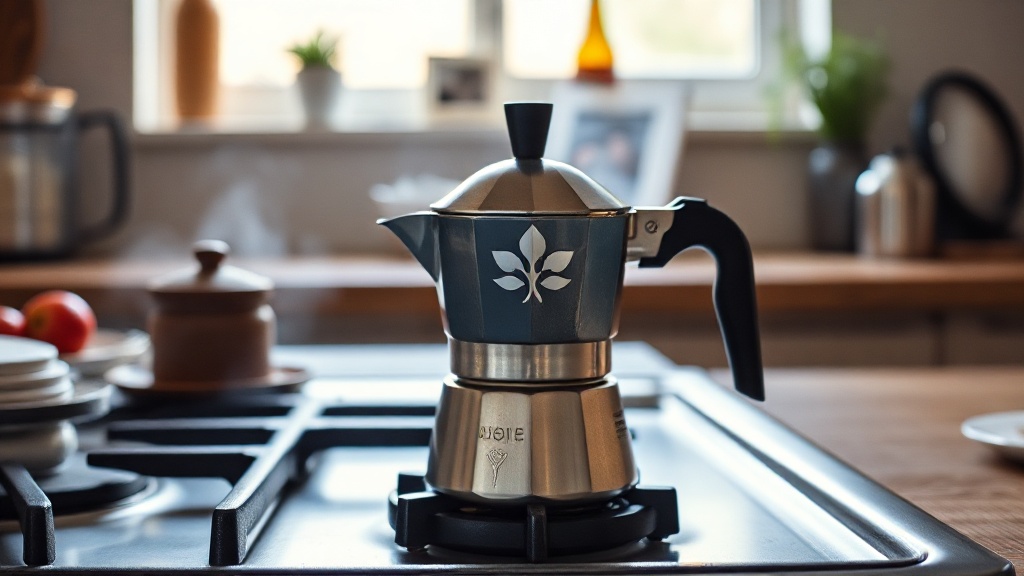
4. Moka Pot (Stovetop Espresso)
The Moka pot was invented in Italy in 1933 by Alfonso Bialetti, and the design has barely changed since. Water in the bottom chamber is heated on a stovetop; steam pressure pushes it through packed grounds and up into a collection chamber.
What it produces: Strong, bold, espresso-adjacent coffee. It’s not technically espresso — it doesn’t generate the 9 bars of pressure an espresso machine does — but it has a similar richness and intensity.
Gear you need: A Moka pot ($25–$50 for a Bialetti), a stovetop, and a medium-fine grind. That’s all.
Best for: Dark roast lovers who want something strong without buying an espresso machine. It’s also a staple for anyone cooking at home who wants coffee for tiramisu or affogato.
Watch out for: Heat management. Too high a flame and you’ll scorch the coffee; too low and it brews unevenly. Medium-low heat, lid open, remove it from the heat when the gurgling stops — that’s the short version of the technique.
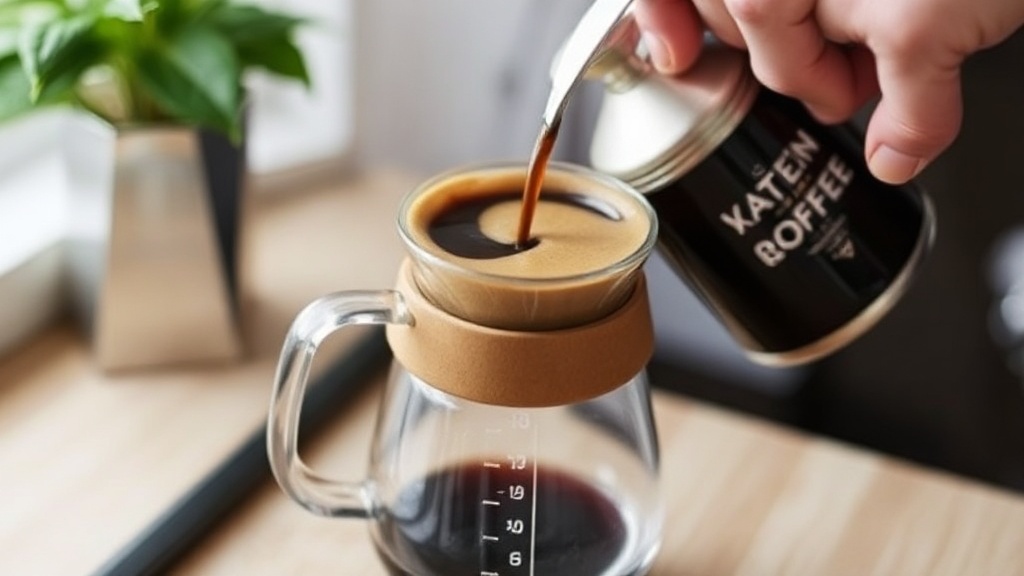
5. Cold Brew (Concentrate)
Cold brew is not iced coffee. Iced coffee is brewed hot and poured over ice. Cold brew is ground coffee steeped in cold or room-temperature water for 12–24 hours, then filtered. The long, slow extraction produces a fundamentally different flavor profile.
What it produces: Smooth, sweet, almost chocolatey coffee with very low acidity. Because heat is never involved, certain bitter and acidic compounds simply don’t extract the way they do in hot brewing.
Gear you need: A jar or pitcher, coarse-ground coffee, and a fine-mesh strainer or cheesecloth. That’s genuinely it. Dedicated cold brew makers like the Toddy system ($35–$45) make filtering cleaner but aren’t necessary.
Best for: People with acid sensitivity, hot summer months, and anyone who drinks their coffee with milk or over ice. Batch-brewed concentrate keeps in the fridge for up to two weeks.
Watch out for: The wait. You need to plan ahead. And if you’re using a concentrate ratio (roughly 1:4 coffee to water), remember to dilute before drinking — cold brew concentrate sipped straight is an intense experience.
6. Drip Coffee Maker
The automatic drip machine is what most households already own, and it deserves more credit than it gets — and more scrutiny too. A mediocre drip machine brews at the wrong temperature (coffee wants water between 195°F and 205°F / 90°C–96°C) and uses a showerhead that distributes water unevenly. A good one does neither.
What it produces: A consistent, approachable cup. Not as nuanced as pour-over, not as bold as a Moka pot, but reliable and scalable to a full pot.
Gear you need: A drip machine. The SCAA (Specialty Coffee Association of America) has a certified home brewer program — machines on that list, like the Technivorm Moccamaster or the Breville Precision Brewer, reliably hit the right temperature and brew time.
Best for: Households that want multiple cups ready at once with minimal fuss. It’s the practical workhorse.
Watch out for: The machine matters. A $15 drip maker from a discount store will usually under-extract and produce flat, stale-tasting coffee. If you’re going the drip route, it’s worth spending $100–$200 on a machine that actually works.
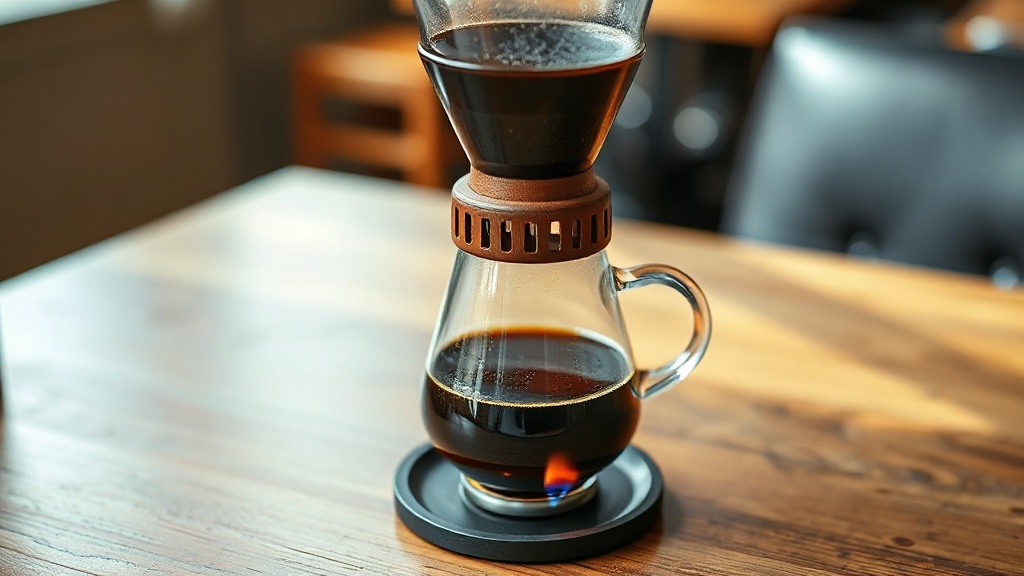
7. Siphon (Vacuum Pot)
A siphon brewer is theater as much as it is coffee. Two glass chambers sit on a stand; heat causes vapor pressure to push water from the lower chamber up into the upper one where the grounds are. When you remove the heat, the brewed coffee is drawn back down through a filter.
What it produces: A remarkably clean, tea-like cup that’s delicate and aromatic — similar to pour-over but with even less bitterness.
Gear you need: A siphon setup ($50–$150), a heat source (usually a butane burner), and cloth or paper filters.
Best for: Coffee enthusiasts who enjoy the ritual and want to show something off. It’s also genuinely excellent for light roast and single-origin coffees where complexity is the point.
Watch out for: Fragility (glass), cleanup time, and the cost of entry. This is not a 6 a.m. Monday morning setup.
How to Pick the Right Method for You
There’s no universal best method — there’s only the best method for your situation. Here’s a quick way to think about it:
- You want maximum flavor control and you enjoy the process: Pour-over or siphon.
- You want body and simplicity: French press or Moka pot.
- You want speed and versatility: AeroPress.
- You want low acid and make-ahead convenience: Cold brew.
- You want to brew for the whole household without thinking about it: A good drip machine.
A note on grind quality
Across every method above, the single biggest variable you can control — beyond the beans themselves — is grind consistency. A burr grinder (even an entry-level hand grinder like the Timemore C2 or the 1Zpresso JX, both around $50–$70) produces far more uniform particle sizes than a blade grinder. Uniform grounds extract evenly; uneven grounds give you a mix of under- and over-extracted coffee in the same cup, which is where bitterness and flatness come from.
You don’t need to spend a fortune. But if you buy a $40 bag of specialty coffee and grind it with a blade grinder, you’re wasting most of what you paid for.
Water quality matters more than most people think
Coffee is around 98% water. Chlorinated tap water or very soft/hard water directly affects extraction and flavor. Most specialty coffee professionals recommend filtered water with a moderate mineral content — Total Dissolved Solids (TDS) in the range of 75–150 ppm is a commonly cited target in the specialty coffee world (per the Specialty Coffee Association’s water quality standards).
A simple Brita filter handles chlorine and most off-flavors without stripping all the minerals out, which is a reasonable middle ground for most households.
The Takeaway
Choosing a brewing method is less about finding the “best” one and more about matching the method to your routine, your tastes, and how much attention you want to pay. A well-made French press beats a poorly-made pour-over every time. Start with what fits your lifestyle, learn it properly, and then branch out if curiosity takes you there.
Good coffee at home isn’t complicated — but it does reward a little knowledge and a decent grinder.